A table saw is one of the most powerful and versatile tools in woodworking. But with great power comes real risk. Anyone who has used a table saw knows how quickly a simple cut can turn dangerous. Many accidents happen not from the blade itself, but from wood pinching, twisting, or kicking back toward the user. That’s where the riving knife steps in—a small but vital safety device that often goes unnoticed by beginners and even some experienced woodworkers.
Understanding the riving knife is not just about safety; it’s also about getting better, cleaner cuts and enjoying a smoother workflow in your shop. If you want to master the table saw, you need to know what a riving knife is, how it works, and why it matters. This article will break it all down in clear, practical language, giving you everything you need to use your saw more safely and confidently.
What Is A Riving Knife?
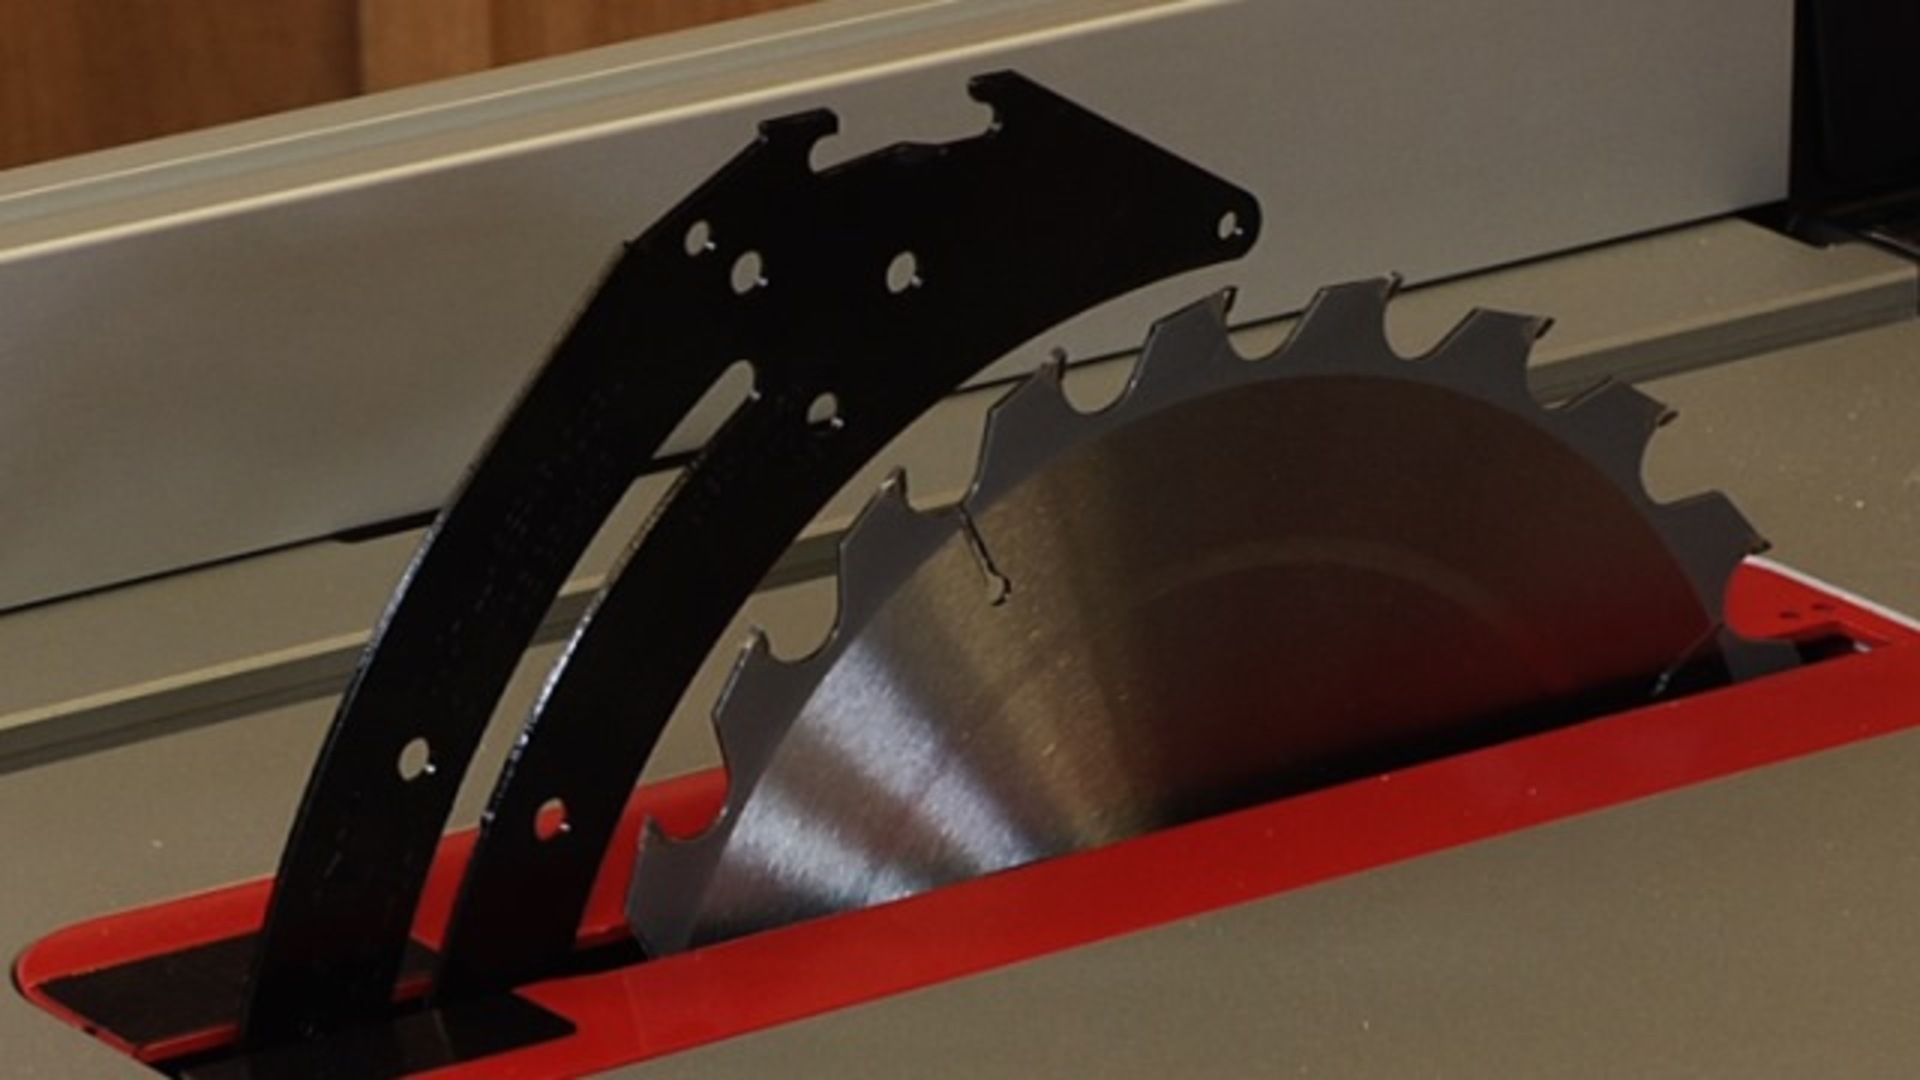
A riving knife is a thin, flat piece of metal mounted behind the blade of a table saw. Its main purpose is to keep the two pieces of wood, after being cut, from pinching back together and trapping the blade. This seems simple, but it solves a big problem: wood can close in on the blade as you push it through, leading to dangerous kickback. The riving knife moves up and down with the blade, staying close to it at all times. This makes it different from older safety devices like splitters.
The thickness of a riving knife is just a bit less than the saw blade, so it fits in the kerf (the slot the blade cuts in the wood) without getting in the way. It rides only a few millimeters behind the blade, ensuring the cut stays open and the wood cannot pinch the blade as you finish the cut.
How Does A Riving Knife Work?
The design of the riving knife is simple but effective. As you push a board through the saw, the blade slices it into two pieces. When the cut is complete, the board can sometimes move because of tension inside the wood or because of how the saw is set up. If the wood pinches the blade, it can lift the back of the blade and throw the board back at you. This is called kickback.
The riving knife sits directly behind the blade, inside the saw’s throat plate. As the blade rises or falls, the riving knife moves with it, always staying in line with the blade. When wood passes through, the riving knife keeps the two halves apart.
It also helps keep your hands away from the moving blade when reaching near the back of the saw.
One practical example: if you are ripping a long board, there is a risk the wood will twist as it moves past the blade. The riving knife keeps the kerf open and stops the back of the blade from catching the wood, which greatly reduces the chance of kickback.
Why Is A Riving Knife Important?
If you look at woodworking accident statistics, kickback is one of the leading causes of table saw injuries. The riving knife is designed specifically to prevent this. Here are some reasons why it is so important:
- Prevents kickback: The main reason for using a riving knife is to keep wood from pinching the blade, which is the number one cause of kickback.
- Follows blade movement: Unlike older splitters, a riving knife stays close to the blade, even as you change the height or angle for different cuts.
- Works for most cuts: Since it moves with the blade, you don’t need to remove it for non-through cuts, like dados or grooves, as long as it doesn’t interfere with the workpiece.
- Improves cut quality: By keeping the kerf open, the riving knife can help reduce burning and chipping on the wood.
- Increases confidence: When you know your saw is safer, you can focus more on technique and accuracy.
Many modern saws are required by law to include a riving knife because of the clear safety benefits. For example, the European Union made riving knives mandatory on table saws years before the United States did.
Differences Between Riving Knife And Splitter
It’s easy to confuse a riving knife with a splitter, but they are not the same. Both are safety devices to prevent kickback, but they work in different ways.
| Feature | Riving Knife | Splitter |
|---|---|---|
| Position | Moves with the blade, always close behind it | Fixed, attached to the saw’s throat plate |
| Height/Angle Adjustments | Stays in line as blade height and angle change | Does not move, may not work for angled cuts |
| Can Stay for Non-Through Cuts? | Usually, yes | Often must be removed |
| Gap from Blade | 2-5 mm | Often much farther away |
| Safety | Higher, due to position | Lower, may not prevent all kickbacks |
The riving knife is now considered the safer and more modern option. In fact, new saws usually don’t even come with splitters anymore.
Types Of Riving Knives
Not all riving knives are exactly the same. There are a few different designs, and knowing the differences can help you choose the right saw or accessory for your needs.
Fixed Riving Knife
A fixed riving knife is attached directly to the saw’s arbor or mechanism, so it always moves with the blade. This is the most common type on modern table saws.
Removable Riving Knife
Some saws let you remove or swap out the riving knife easily. This can be useful if you need to change to a thinner or thicker blade, or when cleaning and maintaining your saw.
Full-height Riving Knife
This type is as tall as the blade itself. It provides maximum protection but can sometimes get in the way of special cuts or jigs.
Low-profile Riving Knife
A low-profile riving knife is shorter than the blade. It still prevents kickback but lets you use other accessories like blade guards or certain jigs.
Aftermarket Riving Knives
If your saw didn’t come with a riving knife, you might be able to add one. Some companies make retrofit kits, but not all saws support this upgrade. Always check your saw’s manual or manufacturer’s website to see if it’s possible.
Riving Knife Vs. Blade Guard
Many people mix up the riving knife and the blade guard, but they serve different purposes. The riving knife prevents kickback. The blade guard sits on top of the blade to shield your hands from touching the teeth. Some modern saws use both together for maximum safety.
| Feature | Riving Knife | Blade Guard |
|---|---|---|
| Main Purpose | Prevent kickback | Protect hands from blade |
| Location | Behind the blade, in the kerf | Above the blade |
| Moves with Blade? | Yes | Usually, yes |
| Can Use Together? | Yes | Yes |
| Removable? | Sometimes | Usually |
Using both gives you the best protection, but some cuts (like dadoes) require removing the blade guard. The riving knife can usually stay in place even for these special cuts.
The History And Evolution Of The Riving Knife
The riving knife is not a new invention, but it became standard much later than the table saw itself. Early table saws had no safety devices at all. As accidents increased, manufacturers added splitters and then blade guards. But splitters had big flaws—they didn’t move with the blade, so many woodworkers removed them, making the saw even more dangerous.
By the 1980s, European regulations required riving knives on new saws. Studies showed this cut the number of injuries dramatically. The United States followed in the 2000s, and now nearly all new table saws come with a riving knife as standard equipment.
This change was not just about following the law. It came from real-world data showing that a simple, well-designed riving knife can prevent most kickbacks and save fingers, hands, and even lives.
How To Set Up And Adjust A Riving Knife
Getting the most out of your riving knife means setting it up correctly. A poorly adjusted knife can actually cause problems or be less safe.
- Check the thickness: The riving knife should be just slightly thinner than your saw blade but thicker than the kerf (slot) the blade creates. If it’s too thick, the wood will get stuck. Too thin, and it won’t stop the wood from pinching.
- Set the height: The top of the riving knife should be just below the highest point of the blade for a low-profile knife, or at blade height for a full-height knife.
- Align with the blade: Make sure the riving knife is perfectly in line with the blade. Even a small misalignment can cause wood to jam or burn.
- Check for movement: The riving knife should move up and down with the blade as you adjust for different cuts.
- Secure it firmly: Tighten all bolts or fasteners so the riving knife cannot shift during use.
A common beginner mistake is to leave the riving knife off for “just one cut” because they think it gets in the way. This is risky and not worth it. Always use the riving knife unless the cut truly cannot be made with it in place (very rare on modern saws).
:max_bytes(150000):strip_icc()/TableSawCuts1800x1200-56aa2c5e5f9b58b7d0016b77.jpg)
Credit: www.thesprucecrafts.com
What Cuts Can You Make With A Riving Knife?
Most standard cuts can be done with the riving knife installed:
- Rip cuts: Cutting lengthwise along the wood grain.
- Crosscuts: Cutting across the grain.
- Bevel cuts: Cutting at an angle. The riving knife moves with the blade for these.
- Thin rips: Making narrow strips. The riving knife still fits in the kerf.
- Most through cuts: Any cut where the blade passes fully through the wood.
There are some cuts where you might need to remove the riving knife:
- Dadoes: Wide grooves where the blade does not cut all the way through.
- Rabbets: Shallow grooves along the edge.
- Non-through cuts: Any time the blade stays below the top of the wood.
Always check your saw’s manual to see which cuts require removing the riving knife, and never force a cut if the knife is in the way.
Common Mistakes And How To Avoid Them
Even with a riving knife, mistakes can happen. Here are some things to watch for:
- Leaving it off: The most common error is not using the riving knife at all. Many injuries happen this way.
- Using the wrong knife for the blade: If you switch to a thinner or thicker blade (like a dado stack), you must use a matching riving knife or remove it.
- Misalignment: If the riving knife is not perfectly aligned, the wood can bind or burn.
- Loose fasteners: A riving knife that moves during a cut can be more dangerous than none at all.
- Forgetting to check after blade changes: Always double-check the riving knife after changing blades, cleaning, or maintenance.
A non-obvious tip: If you notice burning or smoke during a cut, it might be due to a misaligned or bent riving knife. Do not keep cutting—stop and check your setup.
Benefits Of Using A Riving Knife
Some woodworkers ask, “Do I really need a riving knife?” The answer is yes, and here’s why:
- Safety: This is the main benefit. Kickback can happen in less than a second and cause serious harm. The riving knife is your first line of defense.
- Better cuts: By keeping the wood open, the riving knife prevents burn marks and reduces chipping.
- Less waste: Fewer ruined boards due to kickback or binding means less wasted material.
- More confidence: You can focus on accuracy and speed, knowing you are protected.
- Easier workflow: With fewer jams or problems, you spend more time cutting and less time fixing mistakes.
Some experienced woodworkers say that once they started using a riving knife, they would never go back.
Riving Knife Requirements And Laws
In the United States, as of 2009, new table saws must come with a riving knife (or a similar safety device). The rules are even stricter in the European Union. This is based on real-world research showing that saws with a riving knife have much lower rates of injury.
This means if you buy a new saw, it should include a riving knife. If you have an older saw, check if an upgrade is available. Some older models cannot accept a riving knife, and you may need to use other safety steps or consider upgrading your saw.
For more details, you can read the safety standards from the Wikipedia Table Saw page.
:max_bytes(150000):strip_icc()/100400844-e77c76c59983401dbe57bb07948a3635.jpg)
Credit: www.woodmagazine.com
How To Choose A Table Saw With A Good Riving Knife
If you’re buying a table saw, the quality of the riving knife is a key factor. Here’s what to look for:
- Ease of adjustment: Can you raise and lower the riving knife easily? Some saws have tool-free systems.
- Blade compatibility: Will the knife work with all the blades you plan to use? Some saws offer multiple knives for different blade thicknesses.
- Sturdy construction: The riving knife should be made from strong, straight steel. Thin or flexible knives can bend and cause problems.
- Removability: If you do a lot of dadoes or non-through cuts, look for a saw where the riving knife can be removed and replaced quickly.
- Clear manual or instructions: Setup and adjustment should be clearly explained in the manual.
A non-obvious insight: Test the alignment of the riving knife at different blade angles before you buy. Some cheaper saws have poor tolerances, and the knife may not stay aligned at all angles.
How To Maintain And Care For Your Riving Knife
Like any safety device, the riving knife needs regular checks and care:
- Clean regularly: Dust, pitch, and sap can build up and cause sticking or misalignment.
- Check for bends: After any kickback or rough cut, inspect the knife for bends or damage.
- Lubricate moving parts: If your riving knife moves on a track or mechanism, keep it clean and lightly oiled.
- Tighten fasteners: Check all screws and bolts regularly.
- Replace if needed: If the riving knife is damaged, replace it with a genuine part from the saw’s maker.
Ignoring these steps can lead to jams, poor cuts, or even a false sense of security.
Credit: www.wwgoa.com
Riving Knife Myths And Misunderstandings
Some users believe the riving knife is only for beginners or that it slows down work. These are myths. Even professional shops use riving knives because accidents can happen to anyone, and lost time or injury is much more costly than using the right safety gear.
Another myth is that a riving knife will always get in the way of special cuts. Modern designs allow for most cuts with the knife in place. Only very specialized cuts (like wide dadoes) require removal, and even then, a proper setup is important.
Real-world Examples And Data
Statistics show the impact of riving knives on table saw safety. For instance, in the US, table saw injuries send about 30,000 people to the emergency room every year. Kickback is responsible for a large part of these injuries. Studies in Europe found that after riving knives became standard, kickback injuries dropped by more than 60%.
One real-world example: A cabinet shop in Germany reported zero kickback injuries after switching to saws with riving knives, even though their workers made thousands of cuts a week.
Riving Knife Use: Best Practices
To get the most from your riving knife, follow these best practices:
- Always use the knife for standard cuts.
- Check alignment before each use, especially after changing blades.
- Do not remove the knife unless absolutely necessary.
- Use push sticks or push blocks to keep hands away from the blade and riving knife.
- Educate anyone who uses your saw about the importance of the riving knife.
- Inspect the knife and mounting for wear or damage regularly.
These habits will keep you safer and make your woodworking more enjoyable.
Riving Knives For Portable Table Saws
Many people use portable table saws for job sites or small workshops. These saws are lighter and sometimes have fewer features. Modern portable saws usually include a riving knife, but the design may be simpler.
Some things to consider with portable saw riving knives:
- Check for rigidity: Portable saws may have thinner or less rigid knives. Test for flex before use.
- Transport carefully: Since these saws move often, check the riving knife’s alignment after each move.
- Adjust for blade size: If you use specialty blades (like thin kerf), make sure the riving knife matches.
- Replace worn knives: Portable saws sometimes have more wear and tear. Replace damaged knives quickly.
The Future Of Riving Knives And Table Saw Safety
Technology continues to improve table saw safety. Some saws now include electronic sensors that stop the blade instantly if skin is detected (like SawStop technology). But even these advanced saws still use a riving knife, showing that it remains a key safety tool.
Engineers are also working on better blade guards, improved dust collection, and even “smart” riving knives that adjust themselves. But the basic principle remains the same: separating the wood after the cut is the easiest and most effective way to stop kickback.
Frequently Asked Questions
What Is The Main Purpose Of A Riving Knife On A Table Saw?
The main purpose of a riving knife is to prevent kickback by keeping the cut wood pieces from pinching the back of the blade. This reduces the risk of the wood being thrown back toward the user, which is one of the most common and dangerous table saw accidents.
Can I Use A Table Saw Without A Riving Knife?
You should not use a table saw without a riving knife for standard through cuts. Using the saw without this safety device greatly increases your risk of kickback and injury. Only remove the riving knife if the cut cannot be made with it in place (such as certain dadoes), and always follow your saw’s manual.
How Do I Know If My Riving Knife Is Set Up Correctly?
A properly set up riving knife will be just slightly thinner than the saw blade, perfectly aligned behind it, and rise or fall with the blade as you adjust the height or angle. Always check for alignment and tightness before cutting.
Do All Table Saws Come With A Riving Knife?
Most new table saws (especially those made after 2009 in the US or in Europe) come with a riving knife. Some older or cheaper models may not have one, but you may be able to add an aftermarket riving knife if your saw allows it.
Is A Riving Knife The Same As A Splitter?
No, a riving knife is not the same as a splitter. A riving knife moves with the blade and stays close to it, even when you change the blade’s height or angle. A splitter is fixed and does not move with the blade, making it less effective and less safe.
The riving knife is a small feature that makes a big difference. It’s easy to overlook but essential for safe, accurate, and enjoyable table saw work. Whether you’re a beginner or an experienced woodworker, using and understanding your riving knife is one of the smartest steps you can take for your safety and the quality of your projects.